

Last Updated on May 14, 2024 by cscontents
Introduction
In this post we will discuss minikube, and we will do some hands-on so that we can create our own Kubernetes cluster using minikube. Before going through this post, I would request you please go through the Kubernetes Series: Part 1, where we discussed some fundamentals of Kubernetes. Below is the link of Kubernetes Series: Part 1.
Kubernetes Series: Part 1 – Introduction to Kubernetes | Background of Kubernetes
If you have time, go through the Kubernetes Series: Part 2 as well to understand components of Kubernetes cluster.
Kubernetes Series: Part 2 – Components of Kubernetes cluster | Kubernetes cluster in detail
Minikube
We know Kubernetes cluster is the group of VMs (nodes) where one VM (or multiple VM for HA) act as master node and others act as worker node (run the containers).
Minikube is such a tool through which we can create a Kubernetes cluster using only one node and this node will work as master as well as worker node. Minikube runs on Windows, macOS and Linux platform.
Minikube Installation:
There are two main things which we need to install –
- kubectl – It is Kubernetes command-line tool which allows us to run command against Kubernetes cluster.
- minikube – It is the tool using which we will create the Kubernetes cluster.
Note: kubectl version should be within one minor version difference of the Kubernetes Cluster version (in this case, its minikube).
kubectl Installation:
Step 1: Download kubectl binary files
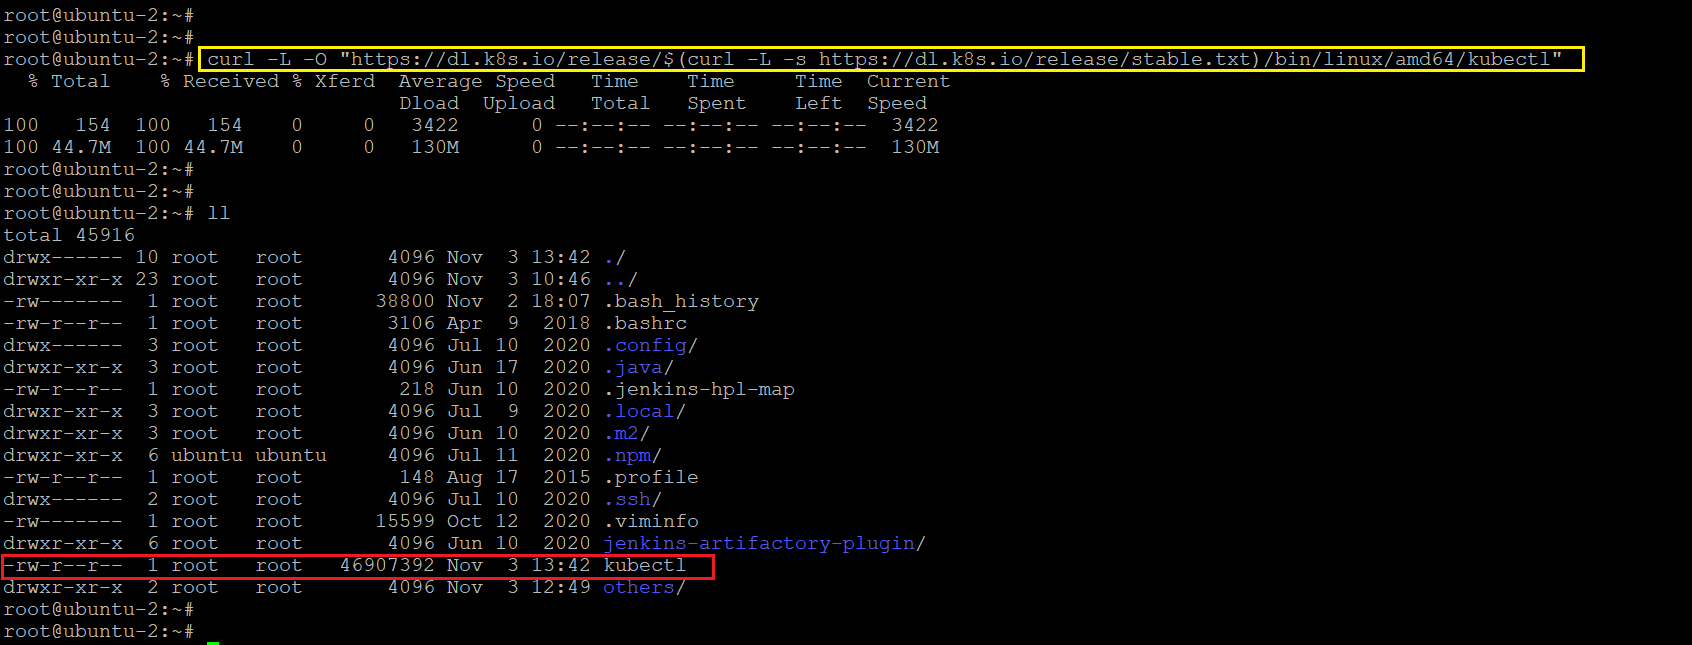
Run the below command to download the latest release of kubectl binary.
curl -L -O "https://dl.k8s.io/release/$(curl -L -s https://dl.k8s.io/release/stable.txt)/bin/linux/amd64/kubectl"In the above command,
-L : If the requested page has moved to a different location, then using this -L flag will send the request to the new place where that page exists.
-O : Using -O flag will save the requested file in the current directory with the same name as the remote file.
And we can replace this portion (curl -L -s https://dl.k8s.io/release/stable.txt) of the URL by our required version. For example if we need v1.10.0 then we can use this URL with curl command – https://dl.k8s.io/release/v1.10.0/bin/linux/amd64/kubectl
Step 2: Adding permission to kubectl binary file
If we see the above screenshot, there is no executable permission for kubectl. So we need to add executable permission to it. For this run the below command.
chmod +x kubectl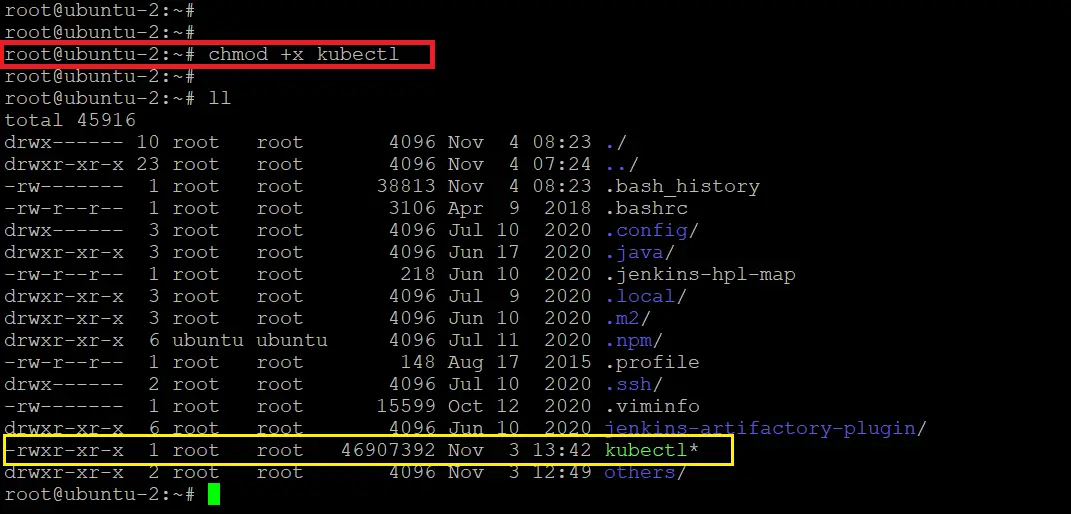
Step 3: kubectl installation
Now let’s install the kubectl to the /usr/local/bin directory. For this, run the below command.
install kubectl /usr/local/bin/
Note: Here I am running the above commands from root directory. If are not running the command from root, then add sudo.
Step 4: Validate the installation
To verify whether kubectl installed successfully, run the below command.
kubectl version --client
If you are getting similar output as shown in the above screenshot, then congratulations! You have installed kubectl.
Minikube Installation
Here, we will install kubectl in a Linux machine. If you want to install it in other OS then please follow the below site.
https://minikube.sigs.k8s.io/docs/start/
Step 1: Download Minikube Binary Files
Run the below command to download the Debian package of minikube binary.
curl -L -O https://storage.googleapis.com/minikube/releases/latest/minikube_latest_amd64.deb
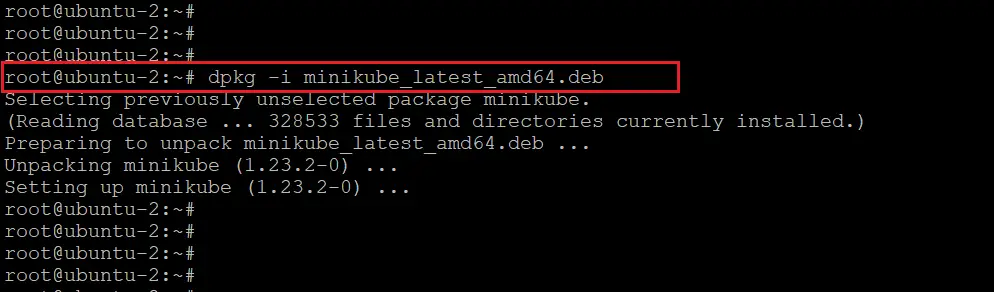
Step 2: Install Minikube
Now let’s install the minikube. Run the below command to install it.
sudo dpkg -i minikube_latest_amd64.debNote: Use sudo if you are not in the root directory.
After installing minikube, we will see a .minikube/ directory created in the user home directory.
![]()
We can go inside the .minikube/ directory by running the below command.
cd ~/.minikube/Step 3: Validate the installation of Minikube
To confirm minikube installed successfully, run the below command.
minikube version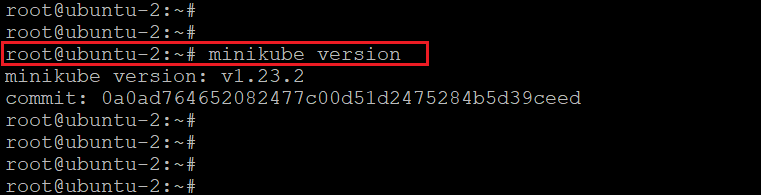
Step 4: Start the Minikube
Let’s start the minikube. Before starting, we need to discuss something here.
Minikube requires driver to run. There is a list of driver available. We can use any one of them. Below is the documentation link, which you can follow for the list.
https://minikube.sigs.k8s.io/docs/drivers/
Here we will go with docker driver and for that we need to install docker.
Please install docker by running the below commands.
sudo apt updatesudo apt install docker.ioTo check whether docker is installed successfully or not, run the below command.
docker --version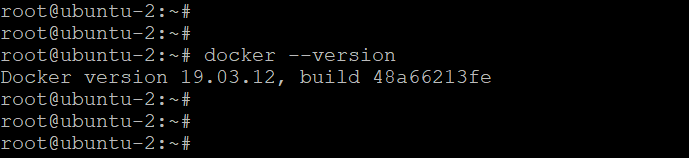
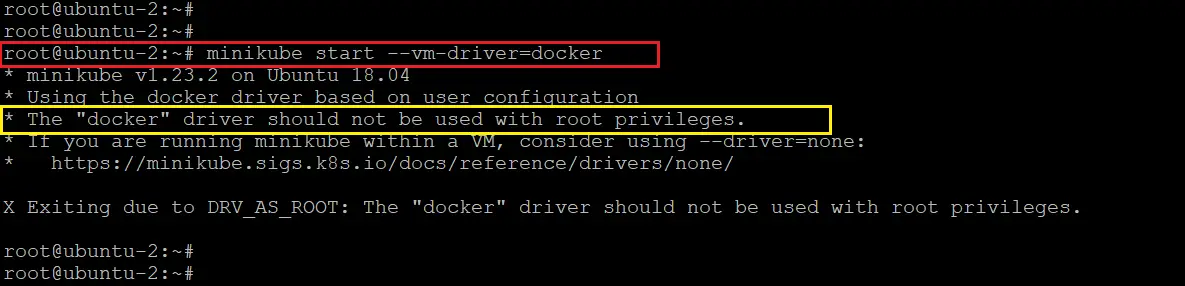
Next, if I run the below command to start the minikube with docker as driver from root user,
minikube start --vm-driver=dockerNote: If you have a requirement of running minikube cluster with more resources (CPU & RAM), in that case run the above minikube start command with ‘cpus’ and ‘memory’ parameters. For example,
minikube start --vm-driver=docker --cpus 4 --memory 8192
The above command gives the below error (since I am running as root user).
* The "docker" driver should not be used with root privileges.
To solve that issue I will come out of root user and run the same command as “ubuntu” user. But before doing that, let’s add this “ubuntu” user in the docker group. If I don’t add this user in docker group, I will get the below permission denied error, as shown in the screenshot.

I will run the bellow commands to add my “ubuntu” user in docker group (docker group automatically created once we install docker)
sudo usermod -aG docker $USER
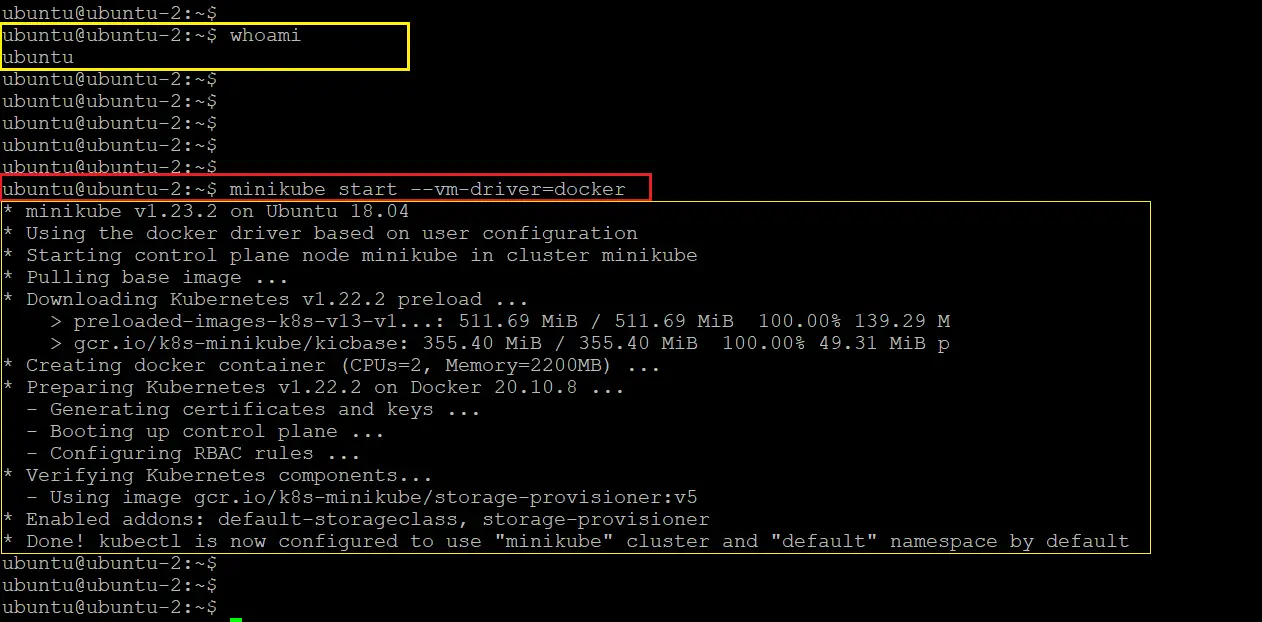
Now we are ready to start the minikube with docker driver. In my case I will start the minikube from “ubuntu” user which I added in docker group.
minikube start --vm-driver=dockerIt will take a few minutes to get started.
Note:
After running the above
"minikube start"command, if you still get the below error, then please restart your machine. It will fix it.

After starting the minikube using the above command, we will see a .kube/ directory created inside the user home directory.
![]()
We can go inside the directory by running the below command.
cd ~/.kube/Step 5: Check the status of Minikube
To check the status of the minikube, run the below command.
minikube status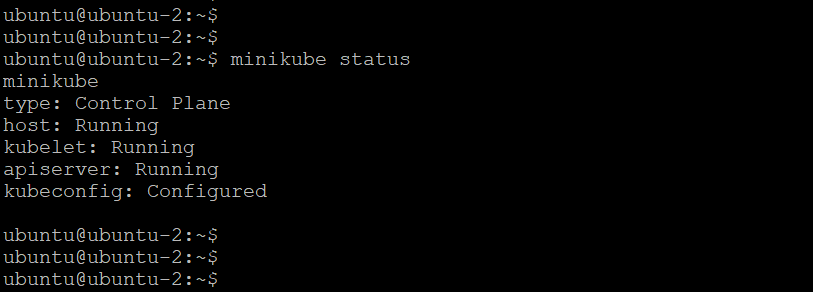
Congratulations! You have installed minikube. And installing minikube you have created your own Kubernetes cluster.
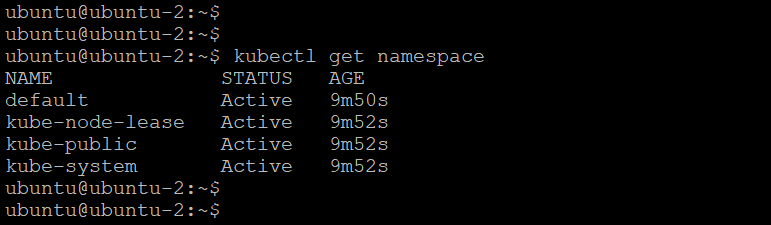
Now we can run various Kubernetes command to check the cluster. For example if we run the below command,
kubectl get namespaceThis command will give the namespaces in the Kubernetes cluster.
In this way you can run other Kubernetes commands and deploy an application in that Kubernetes cluster.
Thank You
If you are interested in learning DevOps, please have a look at the below articles, which will help you greatly.
- Kubernetes Series: Part 1 – Introduction to Kubernetes | Background of Kubernetes
- Kubernetes Series: Part 2 – Components of Kubernetes cluster | Kubernetes cluster in detail
- Introduction to Ansible | High Level Understanding of Ansible
- What is “Monitoring” in DevOps? Why do we need to Monitor App/DB servers, Transactions etc.?
- What is End-to-End Monitoring of any web application and Why do we need it?
- DevOps Engineer or Software Developer Engineer which is better for you?- Let’s discuss
- Network Connectivity Troubleshooting Guide for Beginners